


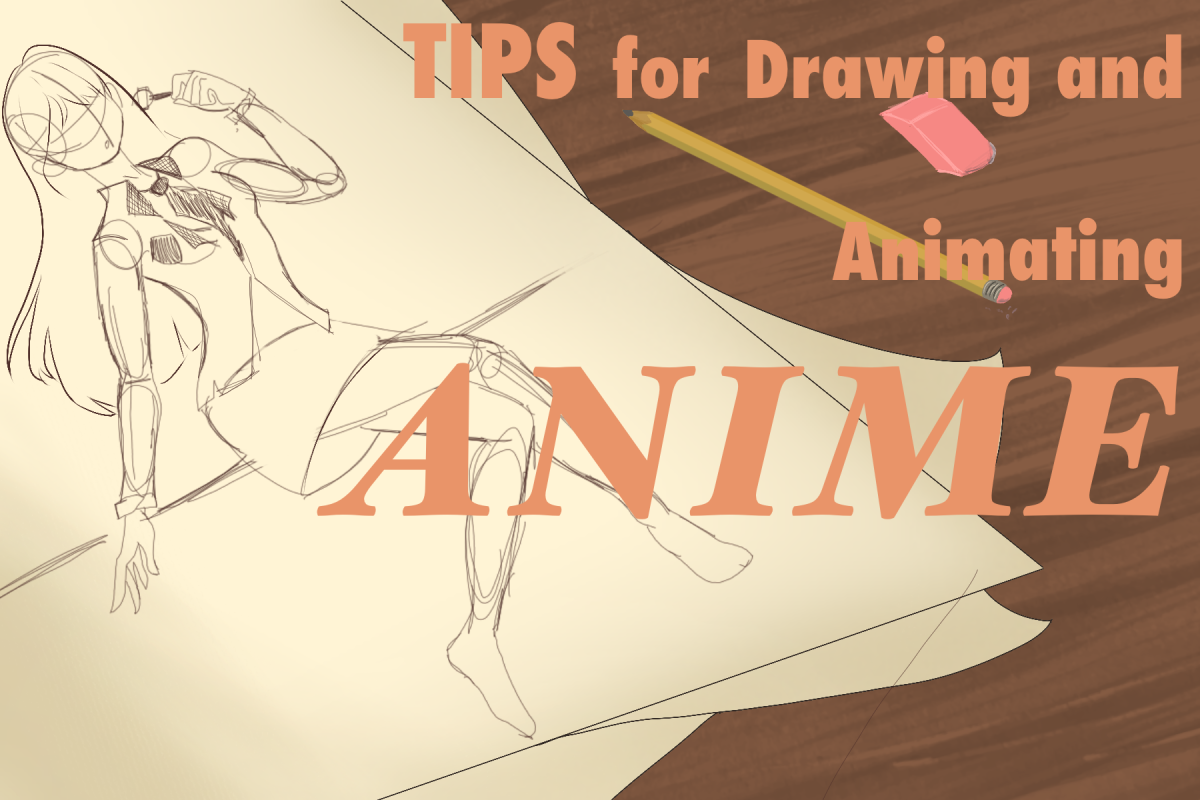


Most people see anime as very difficult to draw and animate smoothly. Beginner artists who begin anime art may struggle with essential techniques such as lineart, proportion, and rendering. These tips will help beginner artists with their art!
1. Don’t waste time on perfecting sketches and lineart
Many artists spend most of their time trying to make their sketches as accurate as possible, the same goes with lineart. Lineart is the outline of the artwork. Rough sketching is when the artists use guidelines to create a rough plan of their artwork. Artists will often try to make the sketch accurate so they can easily trace over it with a thinner and smoother brush on a separate layer. The sketch should only help with placements, perspectives, proportions, and maybe some important accessories. It should only be a guide for the lineart and should never replace it.
Aranel Thung is a self-taught artist that mostly draws anime and cartoon-like styles. Her opinions on sketching are: “Your guidelines are supposed to be messy, and there will always be lots of flaws in your artwork, it’s no use fixing them all. It limits us to be creative. One of my favorite quotes from an artist is ‘you just need to make it exist’, so work on making the drawing first, whether it’s basic shapes or a messy sketch. Then you can worry about those tiny details.”
Wasting time on lineart is more common. Artists like to repeatedly use quick and smooth brush strokes while hovering over the undo button, but it will take a lot of time and is usually a waste of energy.
However, after coloring and rendering the art, small mistakes and bumps in the lineart will be difficult to spot because the viewer mostly focuses on the rendering, designs, and colors. Nevertheless, remember to keep overall line consistency in long, thick lines.
Pro Tip: To make sure all your proportions and parts are accurate, select your canvas and flip horizontally. If anything looks off, go back and revise the lineart. Repeat this process until everything looks right.
2. Use multiply layers instead of airbrush or harsh lines
Artists with little experience prefer to render and shade with airbrushes or blenders. However, modern anime style had sharp and edgy shadows with minimal fade or blending. Typically, I use a layer above the flat color layer but below the lineart layer. If turned into multiply, then I use a clipping mask on top of the flat colors. When I render, shade, and highlight, I often draw a circle at a given point of the canvas and label it as the light source. This helps the artist to recognize where the light should hit and where it is facing away.
3. Use color theory instead of one set of colors

Many people are comfortable coloring skin with one base color and they stick with similar shades, which is an efficient method. But if you really want to make your art pop, you can use completely different shades for different concepts.
“Using an exotic color can bring so much more mood and depth into it. And give you art a “vibe” for anime, absolutely,” Aranel Thung said, “It makes lots of characters stand out. Lots of colors can resemble different moods, and if you put those colors together you can definitely create an art piece that has a certain vibe or mood.”
Use a light peach color with airbrush and yassify the bottom and edges. I usually use a very light blue or white on low opacity for highlights.
To add highlights for eyes, then choose the color of your eye whites and make it a bit darker than you want it. Add shading on the whites depending on the direction of light. If the light is stronger, create a larger difference in shade. If it is dimmer, the shades should be able to be told apart but not obvious. Lastly, add the highlights facing the direction of light.
For shading, I usually use two different shades depending on how obvious I want the shading to be. I don’t usually use a reflected light effect, but I recommend using a shade of blue that is darker than the shade of the highlights.
If you’re going for a more abstract and colorful feel, use different textures for shading and use exotic colors: red, green, blue, orange, yellow, pink, and more. Use patterns like waves, hexagons, lines, and dots. For example:

4. Guidelines
Using guidelines are crucial in anime art. Getting proportions even a little bit off can completely change the result of the art. Use basic shapes such as ovals, circles, and triangles for limbs and main body parts and use lines or arcs to represent angle. e.g. :

Notice how the head is used to measure its proportion to the rest of the body. Remember to label joints, too!
5. Animating
If you’ve ever watched anime, you would notice that it is smoother than regular cartoons but choppier than most other animations. The standard frame rate in anime is 24 fps (frames per second). However, drawing 24 angles or positions might take a long time just for one second!
To create an illusion for fast movements without drawing as many frames, use a technique called smear framing. Yes, it can be weird or creepy, but if you keep it at a standard fps, it will make the animation smoother. Here are some examples of smear framing:

Notice how the hair on her sides are not completely flat – this way, when they add other frames, it adds exaggerated movement to her hair that can show more about her emotions.

This type of smear frame can be used during rotation and fast movements.
Conclusion
Many artists slowly develop their own art style, while some learn from other artists. However, every artist has their own unique style which is what makes their art stand out. These are just a few tips to help you get started!
Sources:
Aranel Thung – anime artist
Images: Anime News Network, Clip Studio Paint, Maftuhi on Oenart